
Table of contents
- What changed for bloggers in 2026
- Step 1: Pick a topic you can defend
- Step 2: Buy hosting and a domain
- Step 3: Install WordPress in one click
- Step 4: Choose a light theme and five plugins
- Step 5: Write the first post that can rank
- Step 6: Get the site indexed
- Step 7: Connect WordPress to an AI agent with MCP
- What you need before you connect
- Desktop clients: one JSON entry
- OpenCode: the free, open source route
- Clients that connect over HTTP
- Other clients and free model sources
- Give the agent a job, not the keys to everything
- Step 8: Use Hostinger's own agents
- A publishing routine that survives month two
- Mistakes that cost the most
- Sources and further reading
How to Start Blogging on WordPress in 2026 looks different from the guides written three years ago. The install is a button. The theme is a decision you can postpone. The part that eats your week, writing, formatting, internal links, alt text and meta descriptions, is where an AI agent can now do real work, but only if you connect it properly.
This guide covers the whole path in order: choose a narrow topic, buy hosting, install WordPress in one click, publish the first post, then connect the site to an agent over MCP. It does not stop at the famous names. You will see free and open source clients, free model sources, and the limits you should know before trusting an agent with your site.
I build and maintain WordPress sites for clients, and the same problems repeat: a heavy theme, twenty plugins, no clear topic, and a site that search engines cannot read. None of those problems is solved by AI. AI only multiplies whatever process you already have, good or bad.

What changed for bloggers in 2026
Three things moved. First, hosting companies turned setup into a guided flow, so installing WordPress is no longer a technical milestone. Hostinger now installs WordPress automatically during onboarding after you pick a plan, and existing sites get a one-click installer inside the panel.
Second, the writing work moved. A single post now needs a title, a description, internal links, image alt text, a table of contents and a FAQ, all consistent. That is the part an agent can handle if it has access to your site, and it is the part most bloggers skip when they are tired.
Third, readers arrive from answer engines as well as search results. A clear first paragraph, real numbers and a visible author matter more than keyword density. If you want the content side in depth, our guide to AI in healthcare shows how the same rules apply in a stricter field.
Step 1: Pick a topic you can defend
Choose a topic where you can add something a competitor cannot copy in an afternoon: a calculation, a screenshot from your own account, a mistake you made, or a decision table. "Technology" is too broad. "Booking systems for small clinics" is narrow enough to build authority.
Write one sentence about the reader and the problem. Then list ten questions that reader asks. Those questions become your first ten posts. If you cannot find ten, the topic is too narrow or you do not know the reader yet.
One warning before you write: do not let an agent invent experience for you. A generated paragraph about "when I tested this for six months" is a lie that readers detect and search engines reward less every year.
Step 2: Buy hosting and a domain
You need a domain, a hosting plan and two hours. You do not need a logo, a custom design or a paid course before the first post.
For hosting, pick a plan for one site and modest traffic. The features that matter are free SSL, one-click WordPress, backups you can restore, and a panel you understand. Everything else is marketing.
We are a Hostinger partner and use it on client projects. Readers of this site get 20 percent off hosting with the code TECHMIM20 at checkout. Check Hostinger plans and apply the code in the cart. If we earn a commission, it does not change your price.
Read the renewal price before you pay, not only the first-year price. Our Hostinger review after moving client sites covers that trap and the parts that matter for WordPress.
Step 3: Install WordPress in one click
New accounts: finish the onboarding chat and Hostinger installs WordPress for you after you pick the plan. You choose the site name and the admin email, and you land in the WordPress dashboard with a setup checklist.
Existing accounts: in hPanel go to Websites, hover over the site, click Manage site, open Website then WordPress Install, and press Install. The installer finishes in a few seconds and opens the WordPress overview page. No FTP, no database user, no configuration file.
Then set four things before you write anything:
- Open Settings, then Permalinks, and choose Post name.
- Confirm the site loads over HTTPS with a valid certificate.
- Create a new admin user with a strong password, and stop using "admin" as the login.
- Set the time zone to your audience, not to the server.
That is the whole technical setup. Everything below is decisions, not installation.
Step 4: Choose a light theme and five plugins
A theme should make text readable and stay out of the way. Test it with one long article and one image-heavy article, check the mobile view, and uninstall anything that adds popups you cannot disable.
Five jobs need a plugin: caching, SEO titles and schema, backups, security, and forms. One plugin per job. Two plugins doing the same job is how sites become slow and fragile. If you want paid options, compare them on renewal price and support, not on the demo. Our premium WordPress themes guide lists what to check before buying.
Step 5: Write the first post that can rank
Start with a question a beginner would search, answer it in the first paragraph, then explain the steps. A post that solves one problem completely beats a post that touches ten problems lightly.
Use the same skeleton every time: direct answer, short explanation, numbered steps, one example, one table or checklist, and a next step. Add a screenshot where the step needs proof, not decoration.
Link to two related posts on your own site and one primary source. Internal links keep readers moving and help search engines understand the topic. External links to official documentation make your claims checkable, which is also what answer engines quote.

Step 6: Get the site indexed
Create a Google Search Console property, verify it, and submit the sitemap that your SEO plugin generates. Do the same in Bing Webmaster Tools, which also feeds IndexNow. Then link to every new post from the homepage or a category page, because a page nobody links to is a page nobody crawls.
Check after a week. Impressions with no clicks usually mean the title needs work. No impressions at all usually means the topic is unclear or the page has no internal links. Fix content and links before you consider backlinks.
Step 7: Connect WordPress to an AI agent with MCP
This is the part that changes how the blog is run. MCP, the Model Context Protocol, is an open standard that lets an AI client call tools on another system. Your agent stays in the client you chose, and your WordPress site exposes a small set of actions it is allowed to perform. For the specification, see modelcontextprotocol.io.
WordPress handles this through the Abilities API in core, available from WordPress 6.9, and the official MCP Adapter plugin. The adapter turns public abilities into MCP tools and exposes them at one address on your site.
What you need before you connect
- WordPress 6.9 or newer, with HTTPS enabled.
- The MCP Adapter plugin installed and active, from WordPress.org or the official GitHub repository.
- A separate WordPress user for the agent, with the lowest role that can do the job.
- An Application Password for that user, from Users, then Profile.
- Node.js on your computer if the client uses the desktop proxy.
Desktop clients: one JSON entry
Claude Desktop, Cursor and Gemini CLI all read a list of MCP servers from a JSON file. The entry is the same, with your own address and credentials:
{
  "mcpServers": {
    "my-wordpress-site": {
      "command": "npx",
      "args": ["-y", "@automattic/mcp-wordpress-remote@latest"],
      "env": {
        "WP_API_URL": "https://example.com/wp-json/mcp/mcp-adapter-default-server",
        "WP_API_USERNAME": "your-username",
        "WP_API_PASSWORD": "xxxx xxxx xxxx xxxx xxxx xxxx"
      }
    }
  }
}
Restart the client, open a new chat, and ask: "List the WordPress abilities you can use on my site." A list, even an empty one, means the connection works. An error means the credentials or the address are wrong.
OpenCode: the free, open source route
OpenCode is an open source coding agent that works with more than 200 model providers and can start free, so you are not tied to one subscription. It supports MCP servers and adds them from the terminal, which makes it the shortest free path from your site to an agent:
opencode mcp add wordpress \
  --env WP_API_URL=https://example.com/wp-json/mcp/mcp-adapter-default-server \
  --env WP_API_USERNAME=your-username \
  --env WP_API_PASSWORD="xxxx xxxx xxxx xxxx xxxx xxxx" \
  -- npx -y @automattic/mcp-wordpress-remote@latest
Then run opencode mcp list to confirm the server is connected. The same command works for any MCP server you add later, and the configuration stays in the project or in your global config.
Clients that connect over HTTP
Claude Code and similar clients can skip the proxy. Encode your username and Application Password as base64, then add the server with the header:
claude mcp add --transport http my-wordpress-site \
  https://example.com/wp-json/mcp/mcp-adapter-default-server \
  --header "Authorization: Basic YOUR_BASE64_VALUE"
One honest limit: the web versions of Claude and ChatGPT connect through OAuth sign-in, and WordPress does not include an OAuth server. Those web apps cannot reach the MCP Adapter on their own today. Use a desktop client or an HTTP client.
Other clients and free model sources
You are not limited to the names above. Cline is an open source extension for VS Code with an MCP panel, and Zed is an editor that connects to MCP servers from its settings. Both are free to install, and you pay only for the model you choose.
FreeBuff is a free coding agent that runs in the browser, on the desktop and in the terminal, and it supports MCP servers too. Open its settings, choose MCP, add the server configuration, then approve the server before it can run. The approval step is a good default, and the official FreeBuff MCP guide walks through it. You can reuse the same WordPress server block from above, then ask FreeBuff to list the abilities it can see.
On the model side, OpenRouter offers a free tier that includes several models, and Ollama runs models locally on your own machine at no cost. Both work as the brain behind a client that supports MCP; the client is what your site talks to.
Clients that can reach your site, compared


Information checked on the official sites in November 2026. Free tiers and limits change, so confirm before you commit.
Give the agent a job, not the keys to everything
The agent acts as the WordPress user you connected, so its permissions are that user's permissions. An Editor cannot install plugins, change settings or delete users, and that is the point. Keep a dedicated user, keep the role small, and revoke the Application Password when you stop using a client.
Abilities are private by default. Only actions marked public are reachable, and the adapter exposes three meta-tools: list abilities, read one ability, and run it. In practice your agent can do the tasks your plugins chose to expose, and nothing else.
What to delegate first, in order of value:
- Draft a post from your outline, then leave it unpublished for your edit.
- Suggest internal links between existing posts, with the anchor text.
- Write meta descriptions and image alt text for posts you already published.
- Audit headings and missing FAQ sections across twenty posts.
What not to delegate: publishing without review, changing permalinks, editing theme files, and anything that touches payments. An agent that rewrites ten posts in one request can also break ten posts in one request. Take a backup first.
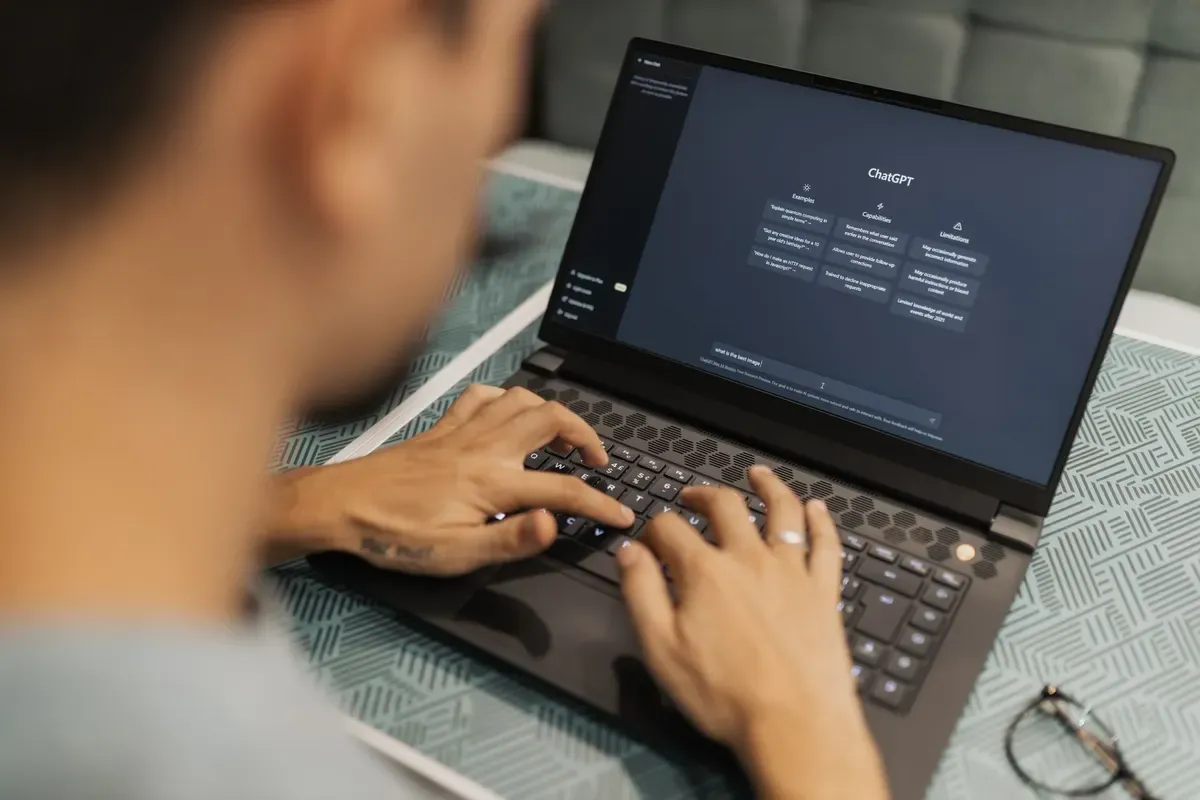
Step 8: Use Hostinger's own agents
You have a second route that does not require a desktop client at all. Hostinger ships two different things, and they are easy to confuse.
Hostinger Agent is a ready-to-use AI team inside your hosting account, with 1,000 credits per month and more than 150 skills, from planning and writing to SEO checks, working inside the apps you already use. It is sold separately from hosting, listed at 9.99 US dollars per month, with a 7-day trial that includes 100 credits and no card. Treat it as a second pair of hands for content and marketing tasks, not as a replacement for your own review. Details on Hostinger Agent.
Hostinger Connector is the MCP bridge for developers and power users: it connects Cursor, Claude or any MCP client to your hosting account, so the agent can work on the server side as well as the site. Hostinger says setup takes about two minutes. See the Hostinger Connector page.
Why does the difference matter? If you already pay for a client, the connector and the WordPress MCP Adapter cover the site work without a second subscription. If you want an agent that lives inside the hosting panel and handles business tasks, the Hostinger Agent is the shorter path. Choose one, learn it properly, then add the other only if a real task is blocked.
| Path | What it does | What it needs | Best for |
|---|---|---|---|
| WordPress MCP Adapter | Lets a desktop agent read and change posts through public abilities | WordPress 6.9, the plugin, an Application Password, Node.js | Writers already using a desktop client |
| Hostinger Connector | Connects an MCP client to the hosting account, not only the site | A Hostinger account and an MCP client | Developers who manage server tasks and content together |
| Hostinger Agent | A ready-made AI team inside the account for daily business tasks | A separate subscription with monthly credits | Owners who want results without configuring a client |
A publishing routine that survives month two
Publishing one useful post a week beats five rushed posts and then silence. Keep a simple loop:
- Monday: outline and research, one primary source per claim.
- Tuesday: draft in WordPress, no formatting yet.
- Wednesday: edit for clarity, add images and alt text.
- Thursday: add internal links, description, then publish.
- Friday: request indexing and review one older post.
Once a month, open Search Console and pick the page with the most impressions and the worst click rate. Rewrite its title and first paragraph. That single habit produces more traffic than publishing faster.
Mistakes that cost the most
- Choosing a topic too broad to compete, then blaming the algorithm.
- Installing twenty plugins before writing one post.
- Using a heavy theme that looks good in a demo and loads slowly on mobile.
- Connecting an agent as an administrator because it was faster.
- Publishing agent output without checking names, prices and links.
- Buying backlinks before the content deserves them.
- Changing permalinks after pages are indexed.
- Forgetting the renewal price when the discount ends.
Sources and further reading
The installation steps follow Hostinger's official guide to installing WordPress. The MCP setup follows the WordPress project's site owner guide and the WordPress remote proxy package. Client commands come from the OpenCode MCP documentation, and search guidance from Google Search Central.
The order stays the same in every year: pick a reader, publish something useful, make it easy to crawl, then improve with data. The tools change. The order does not.
Share this article
Send it to someone who needs it or discuss it with AI.
Frequently asked questions
Quick answers to the most asked questions on this topic.
Do I still need technical skills to start a blog on WordPress?
No for installation, yes for judgement. The installer is a button. Choosing a topic, checking facts and deciding what to publish are still yours, and an agent will not notice that a price changed or that a claim is wrong.
Is connecting an AI agent to WordPress safe?
It is as safe as the user you connect. Use a dedicated account with the lowest role, keep the Application Password private, revoke it when done, and review every change before it goes live. The adapter only exposes abilities that plugins mark as public.
Can I use ChatGPT or Claude in the browser to edit my site?
Not through MCP today. The web apps rely on OAuth sign-in and WordPress does not provide an OAuth server. Use a desktop client such as Claude Desktop, Cursor or Gemini CLI, or an HTTP client such as Claude Code.
Do I need the Hostinger Agent if I already use another client?
Usually no. Start with the WordPress MCP Adapter and the client you already use. Add the Hostinger Agent when you want an assistant inside the hosting account for business tasks, and check the trial before subscribing.
How long does Google take to index a new blog?
Days for some pages, weeks for others. Verification, a submitted sitemap, internal links and one useful post matter more than any trick. If a page stays out after a month, improve it instead of buying links.
Does the discount code apply to renewals?
The code reduces what you pay for the hosting purchase at checkout. It does not change the renewal price shown on the plan page, so read both numbers before you decide the term.
Want the blog built and ready to rank?
One year of hosting and a domain are included. We install WordPress, set up your theme, connect Cloudflare, and wire MCP to the agent you already use. Complete blog setup: 200 USD.